
Tagged: Fermented
Adventures in Yogurt Making
For folks that follow me on FaceBook, you may have seen my recent post where I shared that I was attempting to actually make my own yogurt. At home. From scratch (well, technically from milk). I was extremely nervous, and now I’m not sure why I was so worried. The whole process was incredibly simple. And the result was even better than I expected!

Just a heads up – this post isn’t to share a recipe, or teach you how to make yogurt. There’s already enough info out there on that. I just wanted to let you know how it worked out for me and direct you to some great resources so you can try it for yourself.
Let me back it up just a little. As my accountant (read: nerdy) husband and I reviewed our budget from the last year, we realized that our food expenses were up quite significantly from the year before. I know a lot of this has to do with the fact that we cook way more at home now that we have a child, plus I prefer to eat homemade food versus eating out most of the time anyways. (The fact Tyson eats as much as some adults has also added to our grocery bill!) And being a nutritionist, I’m often trying out a lot of “super-foods” or speciality items that can be a bit costly. However, we are committed to being a bit more frugal minded in certain areas of our food budget.
For example, one item that makes Jon cringe is the cost of greek yogurt. It makes me cringe too. I eat very little dairy for a number of reasons but mostly because it doesn’t sit well with me. Oddly, greek yogurt has never seemed to bother me, plus I like the benefits of the pro-biotic bacteria which good quality, live culture yogurt contains. And, it is so. darn. good. Nothing beats creamy, plain, full-fat greek yogurt topped with fruit, nuts, seeds or granola and a drizzle of honey. It’s a treat, without being a treat if you know what I mean.
The problem is, organic dairy is expensive, and it is especially important for higher fat milk or yogurt to be organic as the fat contains the highest amount of hormones/antibiotics/GMOs. Greek yogurt in particular is quite pricey. For a 500g container of my favourite brand, I usually pay $5.99. At that price, I really feel like I have to savour it. And when I give it to Tyson – watch out! He has been known to eat half the container in one sitting.
So when I started to hear that people out there actually make their own yogurt, I was initially a bit skeptical since Jon already calls me a hippy (what is more “granola” than making your own yogurt?) but I was also intrigued and started looking into the process. There are a ton of sites with information on how to do this, and the methods range from fairly simple to pretty complex.
All methods start with milk (usually homogenized or whole) and basically include these four steps:
1) Heat milk to sterilize it (anywhere from 185 degrees to boiling)
2) Allow milk to cool to 100-110 degrees
3) Add a tiny bit of yogurt as a starter
4) Incubate at a warm temperature in order for bacteria to multiply (4-24 hours)
I’m all about keeping things simple so I really liked the process outlined on the blog Don’t Waste the Crumbs. The fact that this method was “for dummies” was the clincher. Plus, I just happened to have a heating pad kicking around to use. Check out these instructions, and then read on for my adventure.
As promised, the process was very simple. However, I did run into a couple of snags. Firstly, in typical Sarah style I started the process without realizing how much time it would take for the milk to cool down, and I had to rush out somewhere. Plus, I didn’t have a candy thermometer (which a lot of sites recommend), but instead used a meat thermometer which was difficult to keep upright in the pot, plus I don’t think it was working properly. So, I’m pretty sure that the milk mixture was a little too warm when I put it in the jars and I was really worried that this would mean I would kill off all the bacteria before it had a chance to flourish. My other issue was that I soon realized that my heating pad has an automatic shut-off! Ugh – so annoying. I didn’t realize this until a few hours into the process, so the incubation temperature was not consistent – particularly since I left it overnight.

However, despite my less-then-perfect execution, about 18 hours later when I hesitatingly removed the towels and opened the jar the milk was gone and in its place was smooth, creamy yogurt! I was absolutely amazed. It was a success!
To make the yogurt into greek yogurt, there is just one more step. Simply take a fine mesh strainer on top of bowl, or use a bowl and cover with a piece of cheesecloth secured with an elastic, put the yogurt in and put it in the fridge to sit for another 12-18 hours. The whey will drain off (which is pretty nutritious and can be used in smoothies, or even soup) and you will be left with extra thick and creamy greek yogurt. And honestly, it is as good, if not better than the store-bought brand.

The cost savings will depend on how much milk you buy and therefore, how much yogurt you make at a time. This time around I only bought a 1L carton but now that I know what I’m doing, I will likely make a bigger batch (and maybe freeze some), and will save even more money by buying 2-4L of milk at a time.
And of course, besides being cheaper, there are some added benefits to making your own yogurt:
1. You know exactly what is going into it. A lot of store-bought yogurt has some very weird ingredients, particularly the flavoured ones.
2. You can control the lactose – the longer you let the yogurt ferment, the more lactose the bacteria eats up. Apparently after 24 hours, the yogurt is lactose free! Most store-bought brands only ferment their yogurt for 6-8 hours, which results in a sweeter flavour. Luckily, I like my yogurt tangy.
3. You can increase the amount of probiotic bacteria by fermenting it longer. The longer it ferments, the more beneficial bacteria your yogurt will have. Plus, some store-bought brands pasteurize their yogurt at high heat after fermentation, killing off all the good stuff.
Now I know some people still think I’m crazy to be doing this, but I promise it was really, really easy. It’s one of those things (like making my own pumpkin puree) that I won’t be doing every day, but once in a while when I have the time I think it is worth the effort.
Next time around, I think I am going to use this method from Heartland Renaissance. She claims it’s the thickest and best yogurt ever, plus this way I don’t have to buy a new heating pad that doesn’t automatically shut off. (Another method I may try at some point is this method using a slow cooker from Everybody Likes Sandwiches).
Here’s my yogurt with a bunch of my favourite toppings….deeeeelicious!
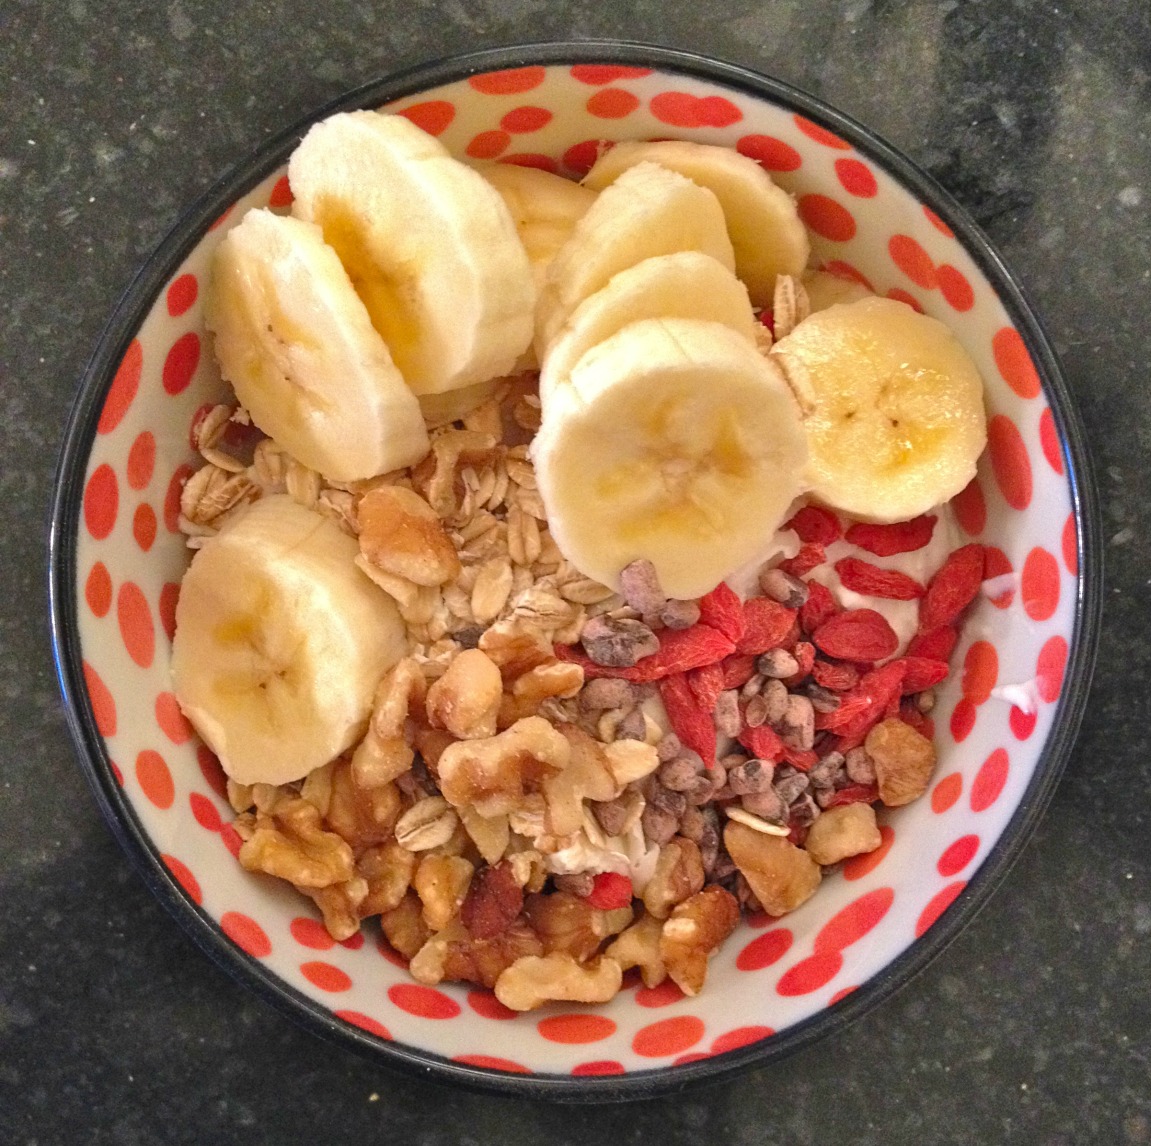
Would you like some yogurt with those toppings? 🙂
That wraps up my adventure – I’ll keep you posted on how the next round goes. I know Jon thinks I’M the big nerd for saying this, but I really do get quite excited about learning new things in the kitchen, especially when it comes to making my food a little more “real”.
Let me know if you end up giving it a try!

What have you made from scratch lately?
